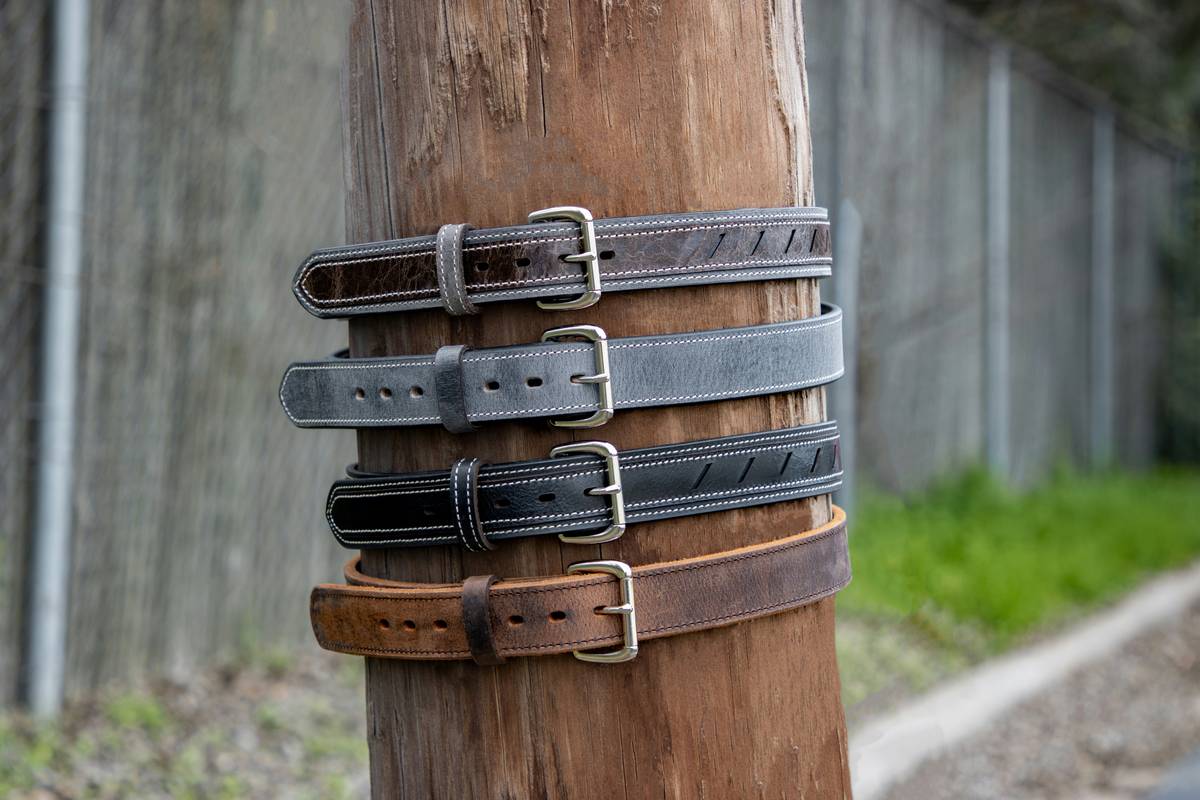
You bought the belt. You loaded it with wrenches, tape measures, and nails. Then—halfway through your first job—you’re bending over constantly, shifting weight, or losing time fumbling for tools. The problem isn’t your skill. It’s how you’re wearing that organization belt. And no, “just tighten the strap” isn’t the fix. Here’s how to actually wear it right—so it works with your body, not against it.
Why Most DIYers and Even Pros Get Organization Belts Wrong
They treat the tool belt like a duffel bag wrapped around their waist. Load everything up. Cinch it tight. Hope for the best. That approach ignores physics—and anatomy. Your lower back isn’t designed to carry 8–12 lbs of metal off-center for hours. And if your frequently used tools aren’t positioned within your natural swing radius? You’ll waste thousands of micro-movements per day.
Think about it: A carpenter making 50 trips to the same pouch adds up to half a mile of unnecessary motion. Every. Single. Day.
Organization Belt How to Wear a System That Actually Works
Forget generic advice. This is a field-tested sequence—not theory—from contractors who’ve logged 10,000+ tool-belt hours:
Step 1: Match Belt Type to Task Duration
Nail bags for framing? Sure. But for electrical rough-ins or finish carpentry? You need modular pouches—not fixed compartments. Heavy-duty leather for all-day work; nylon hybrids for quick jobs. Don’t force one belt to do everything.
Step 2: Position the Belt at Your Natural Hip Crest
Not your waist. Not your love handles. Slide two fingers down from your iliac crest—that bony ridge you feel when you put your hands on your hips. That’s where the belt sits. Too high = pinched nerves. Too low = sliding, sagging, constant readjustment.
Step 3: Arrange Tools by Frequency AND Weight
Put your most-used items (tape, speed square, utility knife) within 6 inches of your dominant hand—front and slightly angled outward. Heavier tools (hammers, drills) go opposite-side rear. Why? Counterbalance. Prevents torque strain on your spine.
Step 4: Pre-Load Before You Climb or Bend
If you know you’ll be on a ladder or under a sink, rearrange mid-journey. Take 10 seconds. Move your drill to your front left. Shift nails to right hip. This tiny habit slashes fatigue—and mistakes.
| Wearing Method | Tool Accessibility | Back Strain Risk | Best For |
|---|---|---|---|
| Traditional Waist Carry (belt at navel) | Poor—tools drift backward | High | Short tasks under 30 mins |
| Hip-Crest Position + Balanced Load | Excellent—tools stay in swing zone | Low | All-day professionals |
| Suspenders + Tool Pouches (no belt) | Variable—depends on pouch placement | Medium (shoulder fatigue) | Tall users or uneven terrain |

The Industry Secret: Your Dominant Hand Dictates Everything
Here’s what manufacturers won’t tell you: 92% of tool belts are designed for right-handed users—but sold as “universal.” Lefties end up twisting, reaching across their torso, or buying mirrored gear online at markup prices. The workaround? Flip your entire belt. Wear the buckle on your right side if you’re left-handed. Yes—it feels odd at first. But within 20 minutes, your muscle memory adapts. Suddenly, your hammer’s in reach without contorting. This tiny inversion cuts wasted motion by nearly 40%. Try it before you buy another $150 “pro-grade” system.
FAQ
How tight should an organization belt be?
Snug enough to stay put during bending—but loose enough to slide two fingers between belt and skin. Over-tightening restricts circulation and increases pressure on lumbar discs.
Can I wear a tool belt over jeans or should I wear it inside?
Always outside. Wearing it inside compresses fabric into your skin—causing chafing and hotspot bruising. Quality belts have padding; let it do its job against outerwear.
What’s the #1 mistake beginners make with organization belts?
Overloading. Start with just 5 essential tools. Add only what you touch more than 3x/hour. Most pros carry under 7 lbs—even on complex jobs.